| Name | Linking Protocols | Open Source/Closed Source | Notability | Notes |
|---|---|---|---|---|
| REF | DPLUS | Closed Source | D-Star's first reflector system that was not originally implemented into D-Star. | Created within the first few years of D-Star's release as the first "homebrewed" reflector system. |
| DCS | DCS | Closed Source | Built to compete/replace REF with its added functionalities. | Module A on all DCS reflectors are linked together. First to use ircDDB and built in 2012. |
| X-Reflectors (XRF) | D-Extra,DCS, and DPLUS | Open Source | First to be open source. Most are built using the XLX software code. | The original, pre XLX reflectors, X Reflectors. History explained HERE. |
| XLX | D-Extra,DCS, and DPLUS | Open Source | The First multi protocol reflector with transcoding ability and giving admins complete control over the reflector. | XLX is a stand-alone system that uses a feature called "Call Home" to build an activity list |
updated: 01/21/2024
Since the dawn of D-Star, there have been a few reflectors and networks built to support this digital mode. XLX is the newest edition of reflectors that allows you to spin up your very own D-Star or DMR, or YSF reflector. Reflectors like REF and DCS, already have servers in place that you request access to use as an admin. XLX is a piece of software originally created only for D-Star and DMR that runs on a Linux server that can be linked to from other repeaters and hotspots much like a hub and spoke design. One of the special things about XLX reflectors is they do not require registration on the D-Star trust system to use them. New D-Star users can simply link and start talking. XLX sets itself apart from the other reflectors in the D-Star world because its a ‘multi-mode reflector’ meaning, it has the ability of allowing any of the D-Star linking protocols (DPLUS, DCS, D-Extra, etc) to connect to it. Also as of January 2020, XLX supports System Fusion natively. By adding another piece of software, AMBEd, and hardware vocoder usb-dongles, it can act as a transcoding server allowing each digital voice mode to talk together.
Some features include:
- One reflector 3 modes out of the box: D-Star, DMR, and YSF.
- Real Time dashboard showing last heard and current ongoing QSOs through the reflector.
- Ability to peer with other reflectors, and networks like Brandmeister.
- Cross digital modes using a hardware vocoder; D-Star can talk to DMR or D-Star to analog or Fusion, etc..
- Supports 26 modules/rooms A-Z.
- Opensource!!
Whats involved:
- Finding an available XLX number if you would like your reflector to be in the pi-star host files automatically.
- Using the script below to install XLXD onto a fresh updated Debian computer. (You can run XLX on Red-hat flavors, I have not added the functionality in my script yet)
- Getting a static public IP address and setting up DNS if you are going to be a public reflector.
- Being or finding a Linux admin to maintain and upkeep the server. (This is often the most difficult part)
How to install XLX on Debian Linux
Once you have a Debian Linux server at the ready and have both a FQDN and XLX number in mind, you are ready to install. SSH to your server and login as root (‘su -‘ if you need to). Then run the following:
# git clone https://github.com/n5amd/xlxd-debian-installer
# cd xlxd-debian-installer
# ./xlxd-debian-installer.sh
The script will ask you a few questions regarding XLX’s configuration then install: 1.) XLX 2.) Apache and the web dashboard. Your web dashboard should be accessible if you setup your networking and DNS correctly.
To interact with xlxd after installation:
systemctl start|stop|status|restart xlxd
- Installs to /xlxd
- Logs are in /var/log/messages and ‘systemctl status xlxd’
- Main config file is /var/www/xlxd/pgs/config.inc.php
- Be sure to restart xlxd after each config change ‘systemctl restart xlxd’
After the install (For public reflectors):
If your web dashboard is accessible your next step is to “Enable Callinghome“. This lets the main XLX Database know the reflector number is now yours and sends a key back to your server for verification. Your reflector should show on the reflector list within 10 minutes to an hour of “callinghome” with a GREEN thumbs up.
To enable calling home, edit /var/www/xlxd/pgs/config.inc.php. The field you need to update is:
$CallingHome['Active'] = false; // xlx phone home, true or false
Change “false” to “true” to enable callinghome then issue a restart to xlxd. “service xlxd restart”
**When this is flipped, a file called “callinghome.php” is created in /xlxd. This hash verifies the reflector is yours. Back it up!!**
Within an hour of enabling callinghome your reflector should be available to pi-star users to connect. It could take up to 24 hours, but users can either update pi-star manually or wait for the nightly updates to occur. You can check the hosts “Source lists” below:
- XLX Source Reflector list – This is the list Pi-Star pulls from for XLX/XRF.
- Pi-star Source Reflector list – This is the list pi-star uses and updates daily from.
Your reflector must be listed before you can expect anyone to be able to connect to it without manually editing any host files. The lists do not update immediately so have patience.
After the install (For private or test reflectors):
Since the reflector will not be populated to the public host files for easy connecting, any users that wish to connect will have to manually edit their pi-star host file. The host file to edit is /root/DExtra_Hosts.txt then issue a pistar-update. Once you open the file it will be self explanatory.
After the install for System Fusion:
If your reflector is brand new or you have never owned a YSFReflector before you will need to register it in order for it to appear in the YSF host list found in Pi-Star. You will need to create an account and register your reflector at:
You no longer have to register your reflector on YSF. Calling home will add your reflector to the YSF hosts lists.
Network Ports
The following are ports used for XLX. Be sure they are open and accessible depending on the services you need:
- UDP: 10001-10002 — XLXd (peering)
- UDP: 30001 — DExtra Protocol
- UDP: 30051 — DCS Protocol
- UDP: 10100-10199 — AMBE Transcoding
- UDP: 42000 — YSF Protocol
- UDP: 20001 — DPlus Protocol
- UDP: 62030 — DMRMMDVM (DMR Gateway)
- TCP: 80/443 — Web Dashboard
- TCP: 22 — SSH (or your chosen port)
Add transcoding capabilities to your XLX reflector
Quite possibly the best part about the XLX reflector is its capability to trans-code from one digital mode to another. Users can connect via DMR and talk to D-Star users, or connect via Yaesu Fusion and talk to D-Star users. Hardware AMBE vocoder USB chips are required for this to happen, but once you have an XLX server and vocoder chips, all you need to do is install AMBED where your vocoder chips are physically located.
- If you plan on using D-Star mixed with Fusion or DMR, you will need to purchase hardware AMBE Vocoder chips.
- Yes, its true, you MUST have these in order for this to work, minimum of 2 and they are expensive.
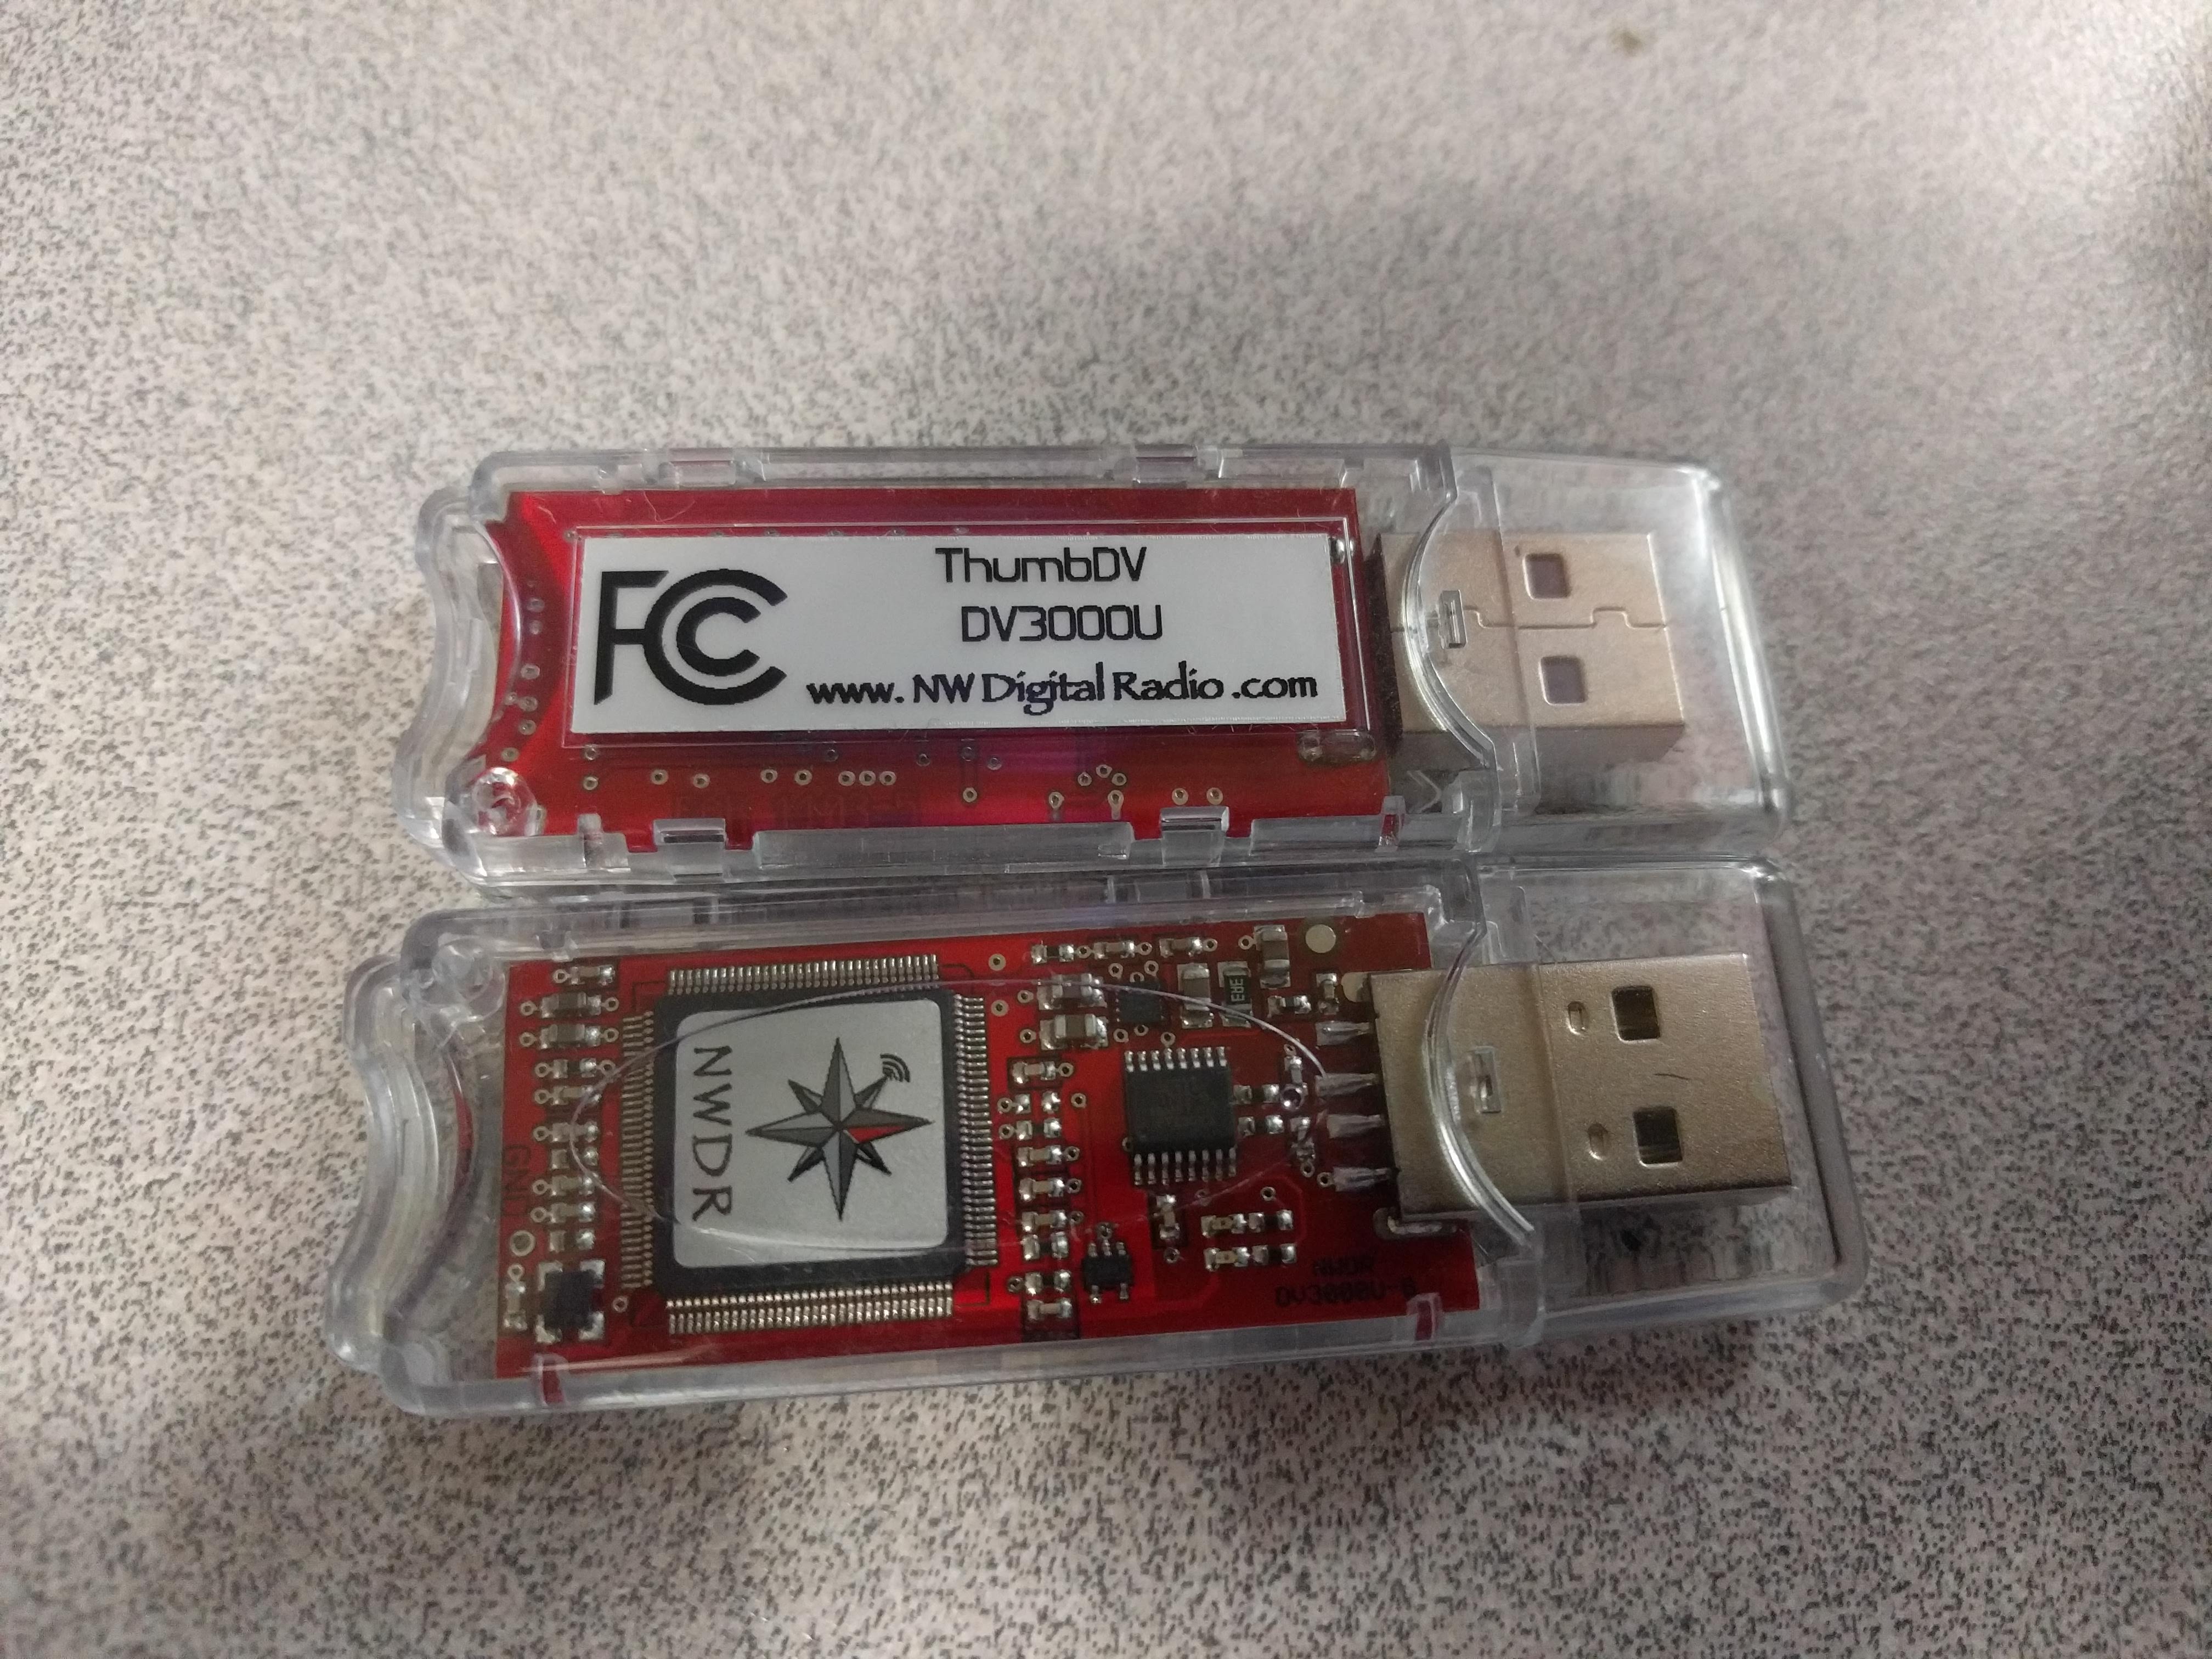
- North West Digital Radio for $90 each. *when on special
- DVMEGA is also selling AMBE chips for transcoding purposes as well.
- * Let me know if you find reliable AMBE chips from other reliable resources..
Run my AMBED installer on the Debian server you plug the AMBE chips into. This can be a separate server or the same one XLX is installed on. Low latency and access to UDP 10100-10199 is required if you use separate servers.
On the XLX reflector edit the init file:
/etc/init.d/xlxd
Edit the ARGUMENTS line:
ARGUMENTS="XLX### <YOUR IP> <IP OF AMBED>" #Use 127.0.0.1 if ambed is on the same computer as XLXD
EX: ARGUMENTS="XLX111 192.168.0.2 127.0.0.1"
Then update systemd to read the updated init file and restart xlxd:
systemctl daemon-reload
systemctl restart xlxd
XLX Install script – Github Link
AMBEd Install script – Github Link
What is a transcoding server?
A transcoding server is a computer running special software that can input one digital mode and output a different mode. Whether you know it or not, the bain of the digital voice existence today is the fact, digital voice modes can’t communicate with each other. If you have a DMR radio sitting next to a D-Star radio, the 2 can only communicate via their analog mode, not their respective digital mode. By using simple software like Pi-star, we can configure it to connect to nearly any server, both online…and offline(private network), and this includes a transcoding server/reflector. A server/reflector can be installed in the “Cloud”, where it can be accessed from all around the world allowing hams to easily connect. A server can also be installed at a single tower site without internet to bridge a local community of radio operators. For example, DMR on Frequency 1, D-Star on Frequency 2, Yaesu Fusion on Frequency 3, at one or multiple high profile repeater sites and still be able to talk together. The list of applications go on..
Why so much work??
The AMBE vocoder chip is a proprietary standard that companies or people can build on and all digital voice 2-way radios use them, which means we do too. Big companies like Motorola hire software and hardware engineers to build radios and product lines around this chip and have capital to throw at pools of smart people. The amount of work required is no different for our hobby. At least until someone creates an open source Vocoder along with easily integrating it with some form of hardware, we will always have to jump this hurdle. Right now, we have the community and its doing an amazing job! Things take time to get better and were just getting started with so much uncharted waters of digital voice.
To be able to write a relatively simple how to article is a blessing in disguise for the ham community. Most of the leg work has been done already, the hardware made, the software written, now all you have to do is put it all together. These scripts and steps below help automate most of “putting it all together”.
Troubleshooting
Until I can add to this section, the XLX forums are the best source for support and questions.